What Is Trezor.io/Start?
Trezor.io/start is the trusted onboarding page where new Trezor users initiate their device setup. It’s managed by SatoshiLabs, the creators of Trezor, and is the only recommended way to begin using your hardware wallet securely.
From this site, you will:
- Download the official Trezor Suite application
- Install the latest firmware on your device
- Create or restore a wallet
- Receive crucial information about securing your recovery seed
- Get support directly from the source
Using Trezor.io/start guarantees a secure, verified setup process without third-party risks.
Why Setup Must Start at Trezor.io/Start
In the crypto world, there are no second chances. If your initial setup is compromised, you could lose access to your digital assets permanently. By using Trezor.io/start, you’re ensuring:
- You’re downloading official software free of malware or spyware
- Firmware installation is authentic and verifiable
- Your device is protected from fake clones or altered hardware
- You receive guidance straight from the source, SatoshiLabs
Avoid using any unofficial apps, random download links, or unverified YouTube guides. Trezor.io/start is the only place you need to go.
Step-by-Step: How to Use Trezor.io/Start
Step 1: Go to Trezor.io/start
Visit the page on your computer using a secure internet connection and up-to-date browser.
Step 2: Choose Your Device
Select your device model — either the Trezor Model One or the Trezor Model T. The website will tailor instructions accordingly.
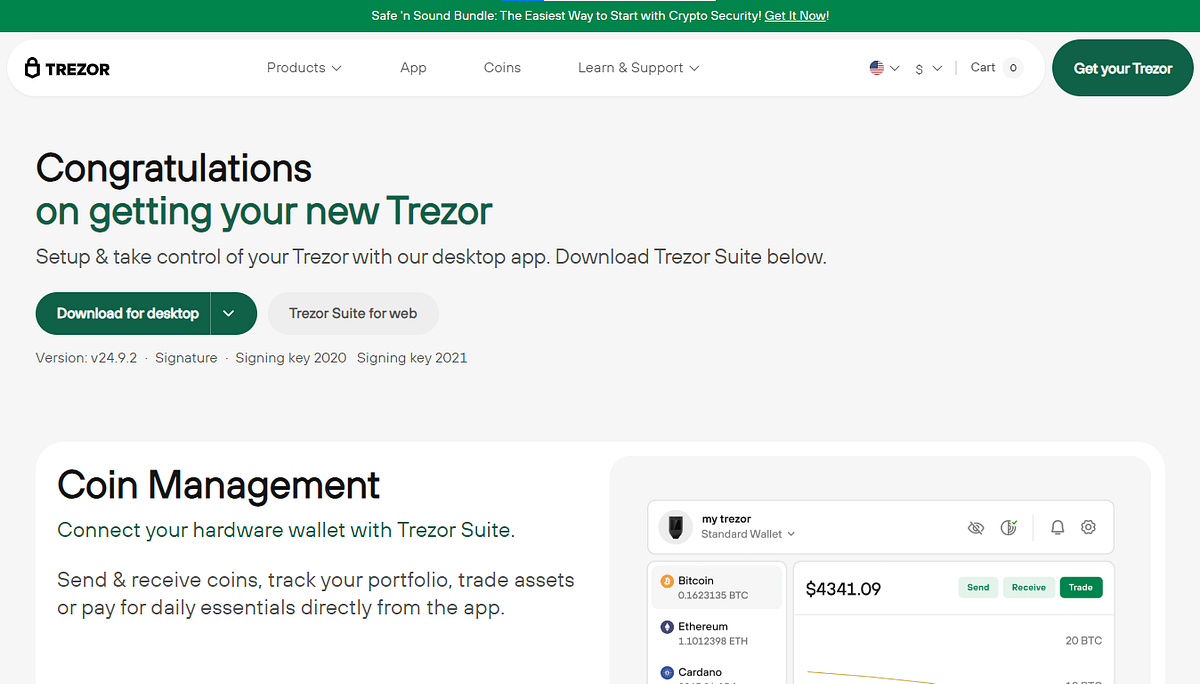
Step 3: Download Trezor Suite
Trezor Suite is the all-in-one desktop application used to manage your wallet. You’ll download the latest version for Windows, macOS, or Linux directly from the site.
Step 4: Connect Your Trezor Wallet
Use the included USB cable to connect your Trezor device to your computer. Trezor Suite will automatically detect the hardware.
Step 5: Install Firmware
If this is your first use, the firmware must be installed. Trezor Suite will prompt you to begin the installation securely.
Step 6: Create a New Wallet
After firmware installation, you’ll be asked to create a new wallet. This is where the magic happens — your new private keys are generated securely within the device.
Step 7: Write Down Your Recovery Seed
Trezor will show you a 12- or 24-word recovery phrase. This is your backup key — it must be written down and stored offline. Never take a photo or store it on your computer.
Step 8: Begin Managing Your Crypto
Once setup is complete, your wallet is ready to receive, send, and store cryptocurrencies. All actions are approved directly from your hardware device, ensuring secure transactions.
Made in Typedream